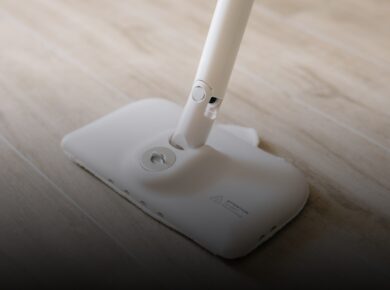
Steam cleaners became popular when it was realized they could clean virtually anything: from stubborn stains between tile grout to windows and floors. But today, we’re going to talk about how to clean steam mop because the device needs to be clean to perform effectively. The appliance can also get dirty, leading to clogging of dirt particles in the nozzles, which disrupts the steam cleaner’s operation, causes water droplets to splash, and even leads to a complete lack of steam.
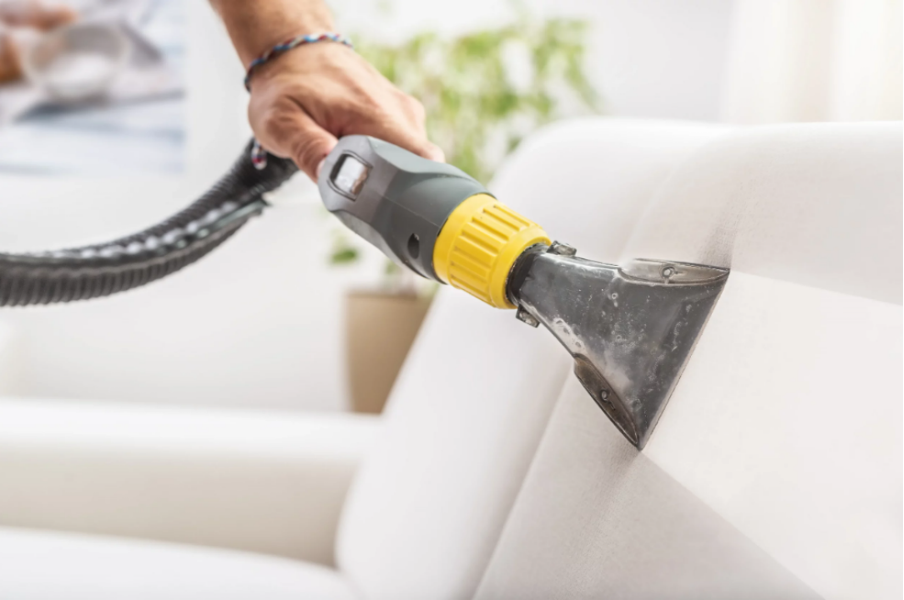
How to Clean a Steamer?
The main question is how often should this be done. It depends on how frequently you use the device. If you use it daily, monthly cleaning is necessary. If you use it infrequently and it sits idle for long periods, it’s better to clean the product after each use before putting it away for storage. If you fill the water tank with regular tap water instead of distilled water and don’t empty the tank after use, cleaning will be needed more often. It’s especially important to clean your steam mop when you notice less steam, water droplets spraying, or inconsistent steam flow.
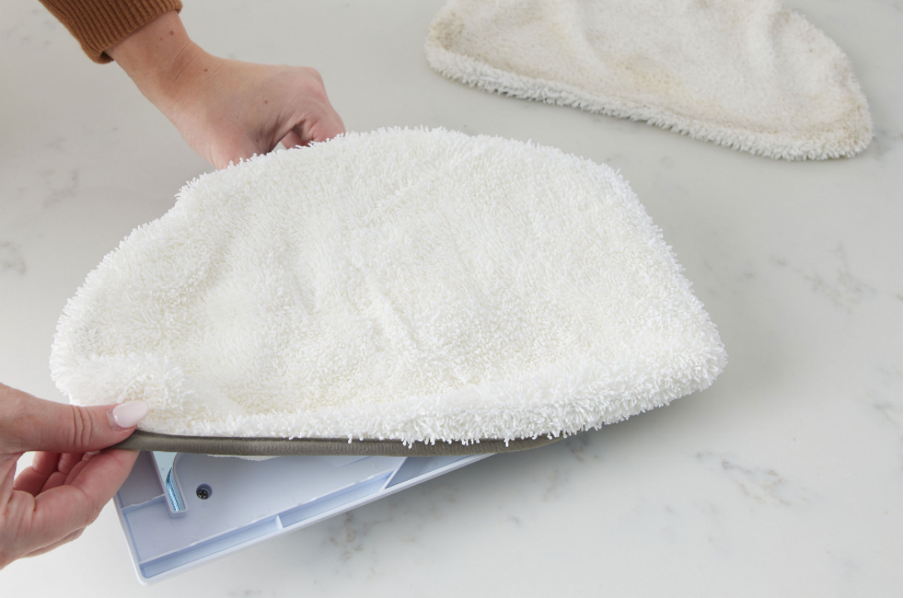
Easy-to-follow Steam Cleaner Maintenance
To clean your steam mop, first, gather what you’ll need for the task:
- A piece of clean, lint-free cloth. These cloths, conveniently available in wipe form, can be found in any hardware store.
- Toothpicks or thin needles.
- A sink or bucket to work with.
- A small clean bowl — it can be plastic, metal, or ceramic.
- Distilled or filtered water, which you can find in hardware stores or auto supply shops.
- Baking soda or a ready-made descaling solution.
Step-by-Step Steam Mop Cleaning Process
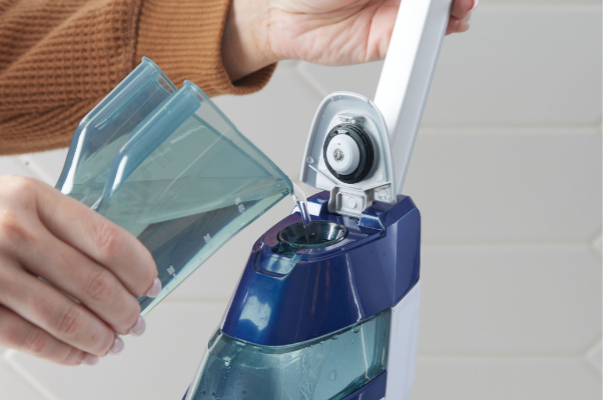
- Take out the steam cleaner and disconnect the water tank. If there’s water inside, drain it. If you’re cleaning the steam mop right after using it, wait for the water to cool down before pouring it into a bucket or sink.
- Dissolve 1.5 ounces of baking soda in 1 liter of water or prepare a descaling solution. Pour this into the tank where you just emptied the water. Let it sit in the tank for about 30 minutes if the steam cleaner isn’t heavily soiled, or up to 2 hours if it hasn’t been cleaned in a while and mineral deposits have accumulated.
- Turn the steam cleaner on to its maximum setting. The solution should pass through the entire system, cleaning all the channels through which the water or steam flows.
- Direct the steam mop nozzle into the sink or bucket so the solution can flow out. Now, turn on the device and wait for it to clean itself from the inside, with your help, removing all the mineral deposits that may have remained on the walls.
- When the tank is empty, fill it with distilled or filtered water. Once again, heat the steam cleaner to its maximum temperature, turn it on, and direct the steam into the bucket or bowl you prepared earlier. Wait until the mop uses all the water in the tank.
- Let the tool cool down and make sure no moisture is left in the water tank.
- Take a lint-free cloth and wipe all the parts if you’re using a handheld steam mop. For upright models, follow the same steps, but instead of wiping, remove all accessories and detachable elements and let them air dry.
For more in-depth maintenance tips and to extend the lifespan of your steam cleaner, you might find it useful to explore further articles on descaling and general appliance care. You could also check out research papers on mineral build-up in cleaning devices for a better understanding of long-term maintenance strategies.
How to Ensure Your Steam Cleaner Is Not Calcified?
Decalcification is necessary for your steam mop if you use tap water. Tap water contains calcium and minerals that easily accumulate on the walls of the water tank and throughout the system. This buildup is the primary cause of blockages and appliance malfunctions.
Part of the problem can be resolved by using a special decalcifying solution and cleaning it as described above. However, if the steam mop hasn’t been cleaned in a long time, mineral deposits may have built up in the system, potentially clogging the nozzles on the attachments you use. Fortunately, this can easily be fixed and repaired at home.
Preparation for Decalcification
- Start by cleaning the steam cleaner following the steps mentioned earlier. This will help remove most of the scale and other dirt. After cleaning, don’t rush to reassemble the steam cleaner. Let it cool down and dry, then proceed to the next step.
- Check the attachments for any white chalky residue. If the initial cleaning didn’t completely remove these particles, soak the attachments in a warm baking soda solution for several hours. You can leave them overnight to fully dissolve the lime scale.
- Take a thin needle or toothpick and carefully clean the small parts and holes of the attachments.
- Rinse the attachments with warm water and let them dry. For handheld steam cleaners, you can wipe them with a cloth, while stationary models can be left to air dry.
Once the steam mop and its attachments are fully dry, you can reassemble the product and store it away.
Additional Tips for Maintaining Your Steam Mop
High-quality steam mops are quite an investment, so it’s important to follow proper maintenance practices to ensure they last as long as possible. The care and upkeep of this tool are quite simple and don’t require much effort from you.
Follow the Manufacturer’s Instructions and Recommendations
We often read the user manual only after something stops working and it’s time to take the device in for repairs. In reality, most tips for proper use, cleaning, and storage are already provided in the product manual. By following these guidelines, your device will last well beyond its warranty period.
A Few More Important Points
- Avoid using harsh chemicals for cleaning.
- Use distilled water to prevent scale buildup.
- Don’t overfill the water tank. The manufacturer marks the maximum fill level on the reservoir.
- After finishing cleaning, pour out any leftover water. Don’t leave water in the tank, as this will significantly extend the life of your steam cleaner. Moreover, this prevents unpleasant odors, mold, and bacteria from developing, so it’s essential to do this.
While it’s important to keep the tank dry between uses, always ensure there is some water in the tank during operation. If you miss this step, mineral deposits can bake onto the walls, making the device harder to clean. Try to store both handheld and stationary steam mops in an upright position.
Please note that your sweeper will last longer if you adjust the pressure according to its usage. For example, when cleaning delicate surfaces like kitchen facades, using high pressure might cause the facade covering to peel off. On the other hand, higher pressure is needed to remove stubborn stains on sofa upholstery or between tiles in the bathroom.
For greater efficiency, choose the appropriate attachments for each specific task. This way, you will use the appliance correctly and achieve better results with less effort. By following these recommendations, your washer will become your reliable assistant in cleaning the entire house for many years to come.
How to Properly Care for Steam Cleaner Accessories
Your equipment will remain in perfect condition if you follow these steps:
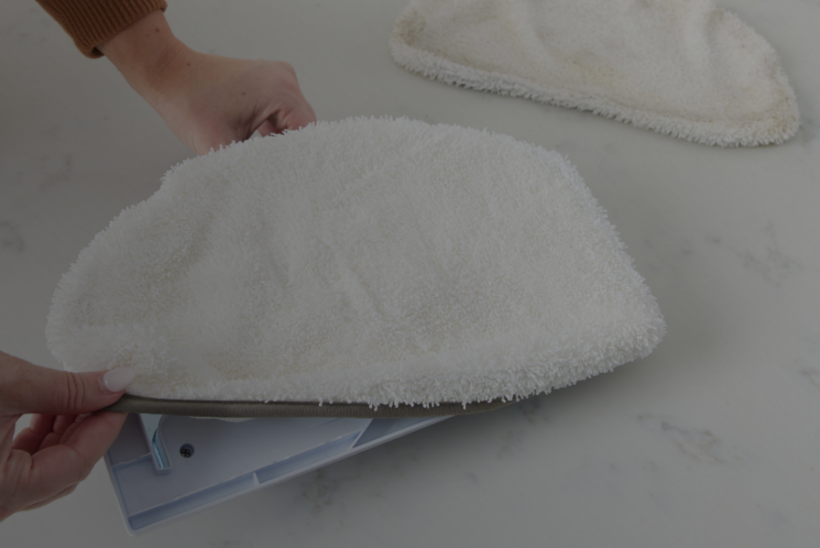
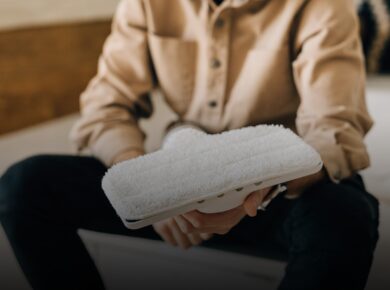
- Wash textile elements (such as cleaning pads) separately from your regular laundry in warm, not hot water, using liquid detergent without bleach or fabric softeners.
- Dry all attachments on low heat in the dryer or by laying them flat to air dry.
- Replace the cleaning pads every 3-4 months if used regularly and actively or at least once every six months if the equipment is used less frequently.
We also strongly recommend regularly inspecting the parts, body, water tank, and hoses for chips and cracks. If you notice that something isn’t working as it should, if the steam output has decreased, or if there is leaking, spraying, or other issues, don’t wait for the problem to worsen — seek professional repair right away. While your machine is still under warranty, you don’t even need to find a technician; simply take the device to the nearest service center.
With this approach, you will be able to use your steam cleaner for a long time, and it will help you tackle even the toughest cleaning challenges that would be nearly impossible without this device. This equipment truly works amazingly well and is ready to impress, so a little extra care will certainly go a long way.
Want to BUY this product?
Check out retailer list for your country.
