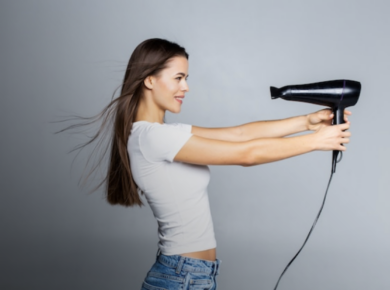
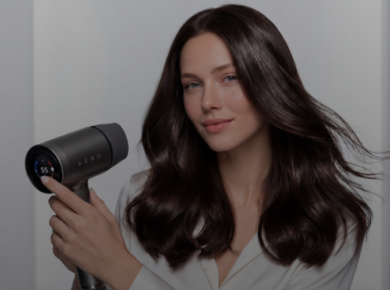
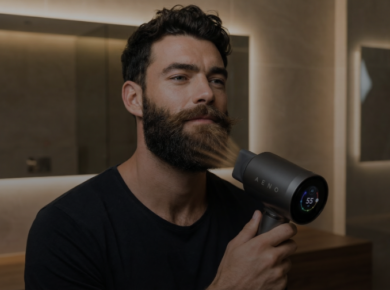
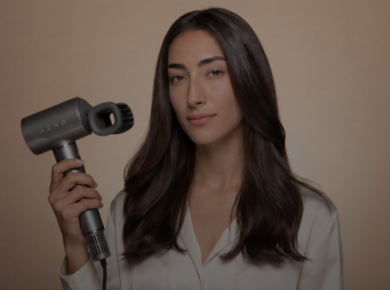
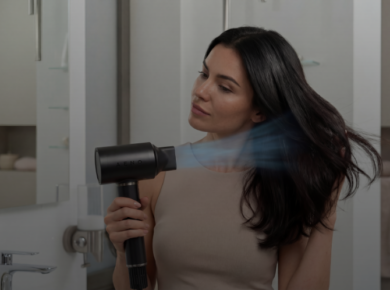
Whether aiming for a smooth and shiny look or preferring a voluminous finish, blow-drying your hair is one of the best ways to maintain a stylish, put-together appearance without venturing to expensive salons. Although a blow dryer is a seemingly simple device — just click the button and make it work its magic — creating a flawless blow-dry look without a frizzy finish requires prep, heat protection, and the correct technique. In this in-depth explainer, we’ll provide guidelines for blow drying different hairdos, cover basic do’s and don’ts, and give quick advice on choosing a perfect blow dryer.
Essential Do’s and Don’ts of Blow Drying
Before jumping straight to the hairstyles, let’s cover some basics. There is a reason why blow dryers often come under scrutiny: using this electric styling appliance incorrectly can cause potential damage, like dull, lifeless, and frizzy hair. Basically, the opposite of the shiny and smooth look you are striving for. How to prepare your hair for a blow-drying session and what are the main mistakes to avoid?
1. Don’t Blow Dry Wet Hair
Although it seems counterintuitive, blow-drying dripping hair can make it brittle and rough. Here’s why you should avoid it: when washing your hair, it absorbs water and expands. Blasting hot air on wet, swollen hair is an intense and accelerated drying process, which causes hair cuticles to contract. Rapid contraction and expansion is a bad practice that can result in brittle and rough hair.
To achieve your styles with minimum damage, blow-dry your hair when damp. The next logical question is: when the wet hair is damp enough for a blow-dry? The answer depends on how thick your mane is: medium-thick hair owners should wait until the strands are about 60–70% dry, while thick hair owners should start blow drying when 50% of the hair is dry.
2. Avoid Vigorous Towel-Drying
In an attempt to speed up the drying, many women tend to enthusiastically rub their scalp and tresses with towels. Instead of vigorous towel-drying, wrap your hair in a microfiber hair towel or soft t-shirt and gently blot and squeeze the excess water. Your towel’s material is not a trifling manner: regular cotton bath towels typically have a rough structure that can further damage your tresses.
3. Enter Heat Protectants
Heat protectant is a superhero of a hair product that creates a shiny barrier between your hair and the blasting heat of the blow dryer. Many consider heat protectants a supplementary product, a prep step you can easily dispense of. In reality, if you want to prevent dryness and keep the moisture inside, you must shield your hair from high heat, especially if it is dry or brittle.
4. Focus on Your Hairline
Let’s ponder another pertinent question: Where and how to blow dry your hair? If you want to save time and avoid overdrying your hair, focus on your roots. By the time you’re done with the hairline, your tresses will be half done. Word of caution: don’t hold the appliance too close to your scalp as you will over-dry the hair cuticles. Around 15 cm is a perfectly safe distance.
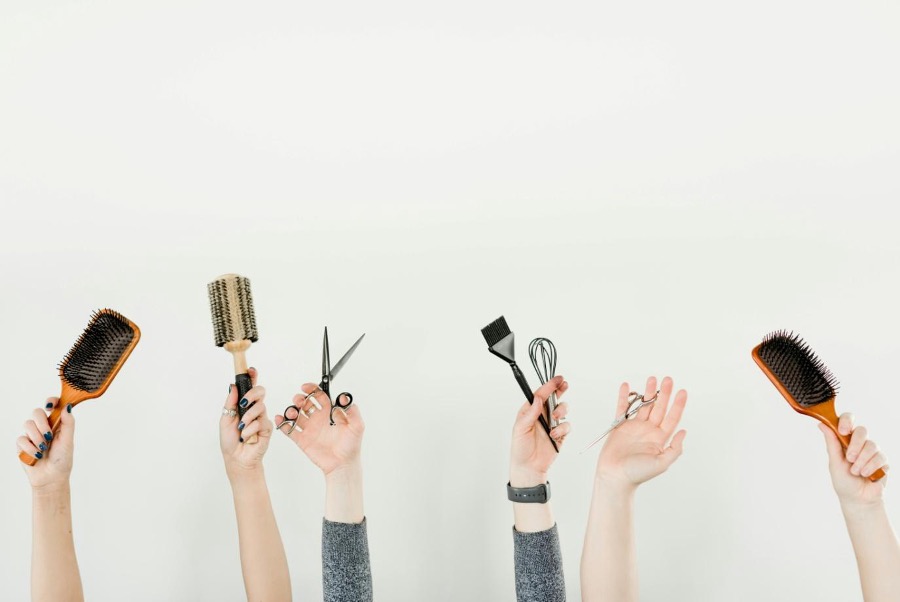
5. Use the Right Brush
Depending on what blow dry styles you want to achieve, many brushes will help you out. For instance, round brushes are great for creating waves and loose curls, vented brushes allow for fast drying, and paddle brushes are designed to brush long hair quickly. If you frequently blow dry your hair, check out the ceramic brushes made of heat-conductible materials like tourmaline, titanium, and ceramic.
Guidelines to Blow Dry Styles for Different Hair Types
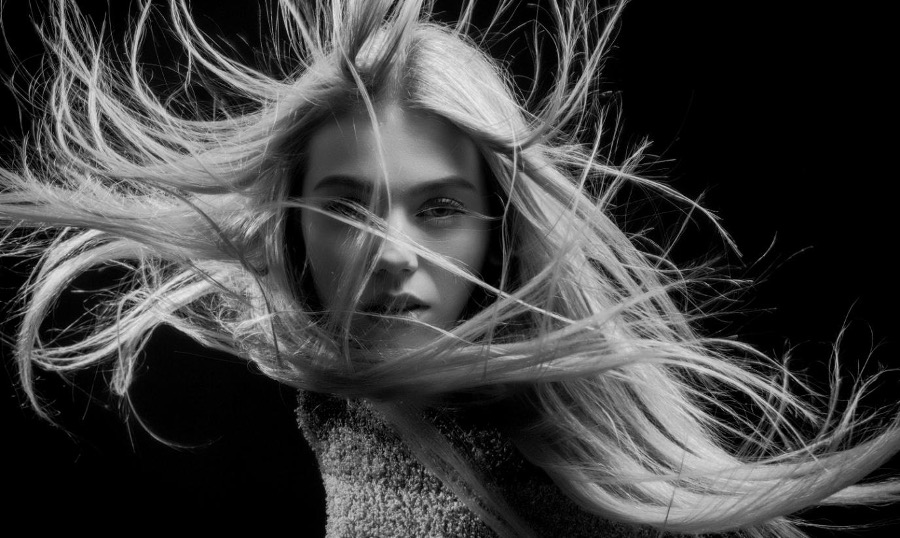
The secret to smooth, blow-dried hair lies in understanding your hair type and employing the right technique. Let’s start by taking a look at the common style techniques suitable and discuss how to style your hair with a blowdryer:
- Straightening. After applying heat protectant, move the paddle brush and the hair dryer down the stands to achieve a sleek look.
- Volume. To achieve volume, you need to blow dry in an inward motion. Flip your head upside down and blow-dry your hair. When dry, flip your head back and brush the hair. If you want to achieve even more volume, apply volumizing mousse to your wet hair, wait until it is 60% dry, apply heat protectant, and start blow drying.
- Blowout. After applying the heat protector, curl the round brush at the roots and slowly work the brush and the blow dryer down to the ends, curling the brush away from your face.
- Curling. For this technique, you’ll need either a curling wand or a round brush. Apply a heat protector, twist your hair around the wand or brush, and air dry in sections.
If you’re looking for new styles for your hair, we have compiled a couple of basic hairstyles for different hair lengths and types.

Short Hair
Although short hair requires less daily maintenance — blow-drying it is a breeze — you need to learn how to style it or make more frequent salon trips to refresh the cut. Here are a couple of ideas to get you started:
- Fluffy Pixie Style. Achieving a voluminous look for a shortcut is easy. Use a flat brush and a nozzle to blow dry the hair in different directions. This will help create volume and texture.
- Textured Bob Style. Add movement and texture to your short bob! Use a flat brush and a nozzle to dry your tresses while twisting sections with your fingers.
Medium Hair
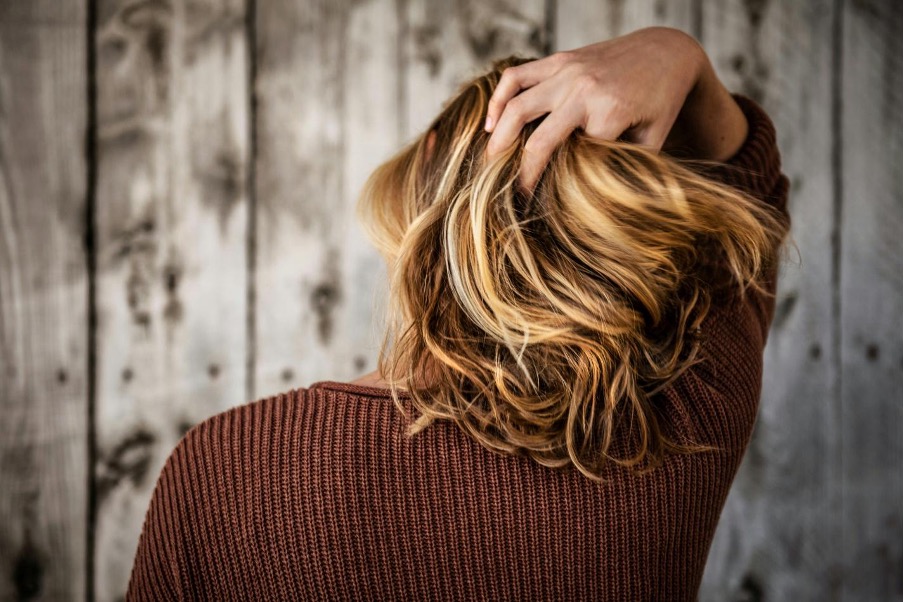
Medium-length hair is a sweet spot between short and long hair, as it requires little daily maintenance and simultaneously allows you to create more complex hairdos.
- Perfect Waves. This style is all about texture. Rough-dry your damp hair, apply a texture spray, and use a diffuser attachment. For a more gritty, natural-looking texture and extra volume, work salt spray from the roots to ends and tousle your hair. Luckily, achieving this hairstyle with a blow dryer is not a complex matter.
- Brushed-Out Waves. This hairstyle is perfect if you’re in a hurry. The secret to the look lies in its haphazard approach: add waves here and there and brush them out to blend with your natural hair texture.
- Flipped High Ponytail. Straighten hair in sections, gather it in a high ponytail, secure it with a hair tie, and mist the hair with heat protection to make it look extra slick. For the iconic flick, roll the brush backward when you reach the ends of your hair.
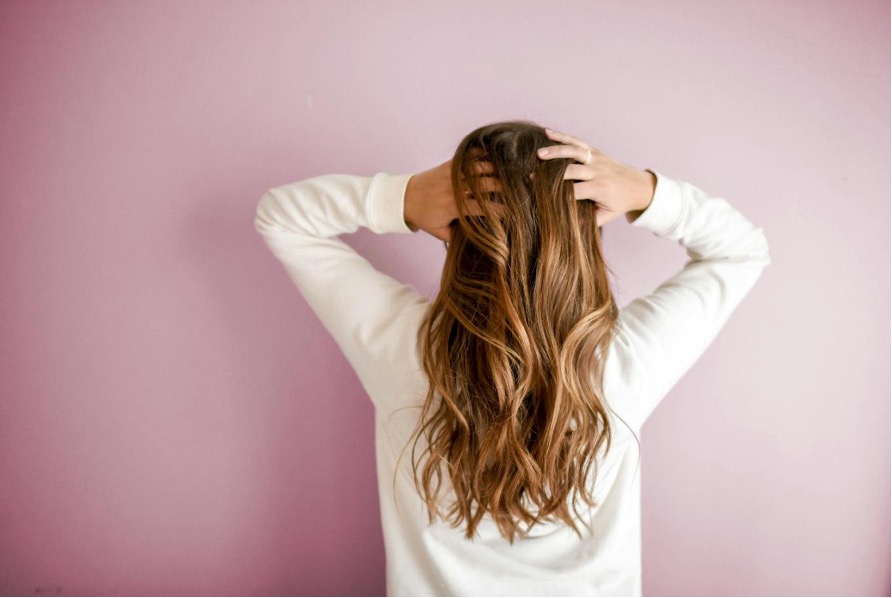
Long Hair
Although long hair is the epitome of hard maintenance (just think about the amount of product you need to use compared to short hair), it also allows for a wide range of complex and elegant hairdos.
- Side Sweep. The classic look is pretty easy to achieve. When blow-drying hair, aim for volume and curls: use a round brush or hair barrels and root-boosting spray to make the side fringe look extra voluminous. When done, put the sleeker part of your hair on one side (you can secure it with bobby pins) and the voluminous part on the other.
- High Pony. When blow drying, aim for maximum volume. Gather your hair in a high ponytail and secure it with a hair tie, leaving a strand to wrap around the hair bobble. If you strive for extra messiness, pull out a couple of strands to frame your face.
How to Choose a Blow Dryer
With how to use a hair dryer out of the way, it’s time to talk about the key factors you should consider when shopping for a blow dryer. From different wattage to tourmaline, ceramic, and titanium appliances, there are so many models in the market that a straightforward task can quickly spiral into a chore. Here’s your cheat sheet of what to look for.
1. Wattage
Wattage is the power of a blow dryer: the higher the wattage, the faster and hotter the appliance. Blow dryers exist in a power spectrum, with less powerful models promising around 1,000 watts, and their most powerful counterparts boasting a whopping 2,000 watts.
Mind you, the higher-wattage hair dryers come with a higher price tag. Do you need a super-powerful blow dryer in the first place? The answer depends on your hair type:
- Low Wattage: 1,000–1,500 Watts. Suitable for fine, delicate, or short-length hair. The blow dryer provides enough power to dry the hair without exposing it to excessive heat.
- Medium Wattage: 1,500–1,800 Watts. Tailor-made for curly and medium-length hair. The wattage is sufficient for drying medium-length hair and minimizing heat exposure. Curly hair will especially benefit from diffuser attachment, which will help reduce frizz and accelerate the drying process.
- High Wattage: over 1,800 Watts. Perfect for thick and long manes. Powerful blow dryers reduce drying time and lessen heat exposure, which is essential for minimizing potential damage.
2. Ionization vs. Infrared
The science behind ionic dryers is pretty simple: an ionic blow dryer shoots negatively charged ions on the positively charged water ions. The result is that negative air ions break water molecules into tinier particles at a much faster rate. Ionic dryers speed up the drying process while ensuring that your hair is more hydrated, healthy, and less likely to tangle or frizz.
On the other hand, infrared technology uses a different approach, as it gently warms the hair shaft from the inside out. This speeds up the drying process, helps retain moisture, and reduces frizz. It’s a solid choice if you have dry, color-treated, or damaged hair. Blow dryers with infrared technology tend to come with a higher price tag.
3. Materials
Most blow dryers are typically made of tourmaline, ceramic, or titanium. Which one will suit you better?
- Titanium. Although this lightweight metal distributes heat evenly, it can also be very hot, which is not the best choice for damage-prone hair. Its ability to heat up quickly is a perk if you want to speed up the drying process. Best for thick, textured, and coarse hair types.
- Ceramic. Gentle is the best word to describe ceramic hair dryers. Tailor-made for beginners, this material emits less harsh heat, which minimizes damage to your hair. Ceramics is not the best choice for thicker hair, as the material takes longer to conduct hotter temperatures. Best for fine, damaged, or chemically damaged hair.
- Tourmaline. This semi-precious mineral allows for achieving a frizz-free, shiny look. Tourmaline dryers typically come with a higher price tag for a reason: the material helps throw a load of negative ions, which reduces static and enables a smoother finish. Suitable for all types of hair; best for frizzy or unruly hair.
4. Weight
The weight of your hair dryer is not a trifling matter; choosing a heavier model may transform your blow-drying session into a mini-workout. Your entry-level appliances tend to be lightweight, while professional hair dryers are equipped with a larger, more powerful motor, which translates into a much heftier weight.
5. Additional Features
- Adjustable Heat Settings. This feature allows you to regulate the heat, which makes it essential for minimizing heat exposure.
- Cool Shot Button. If you want to lock your hairstyle, enhance the shine, and minimize the frizz, the cool shot function — basically your hair dryer switching to releasing cool air — is a must.
- Attachments. For thin or delicate hair, it’s preferable to use concentrators or narrower nozzles, while thick or long hair requires a wider nozzle for broader airflow. If your hair is curly, a diffuser nozzle should be your go-to, as it minimizes the frizz and enhances the natural texture.
With all the details out of the way, let’s do a final recap on which hair dryer you should choose based on your hair type.
- Thick hair: High-wattage titanium model with a broader nozzle.
- Thin hair: Low-wattage ceramic model with a narrow nozzle.
- Curly hair: go for an ionic medium-wattage hair dryer with a diffuser attachment.

Conclusion
Although shopping for a hair dryer is a confusing process, it’s not rocket science. When browsing for a perfect device, consider key factors like wattage, material, weight, and cost. The key to choosing a high-quality blow dryer lies in understanding your hair type and finding an appliance that perfectly suits it.
Want to BUY this product?
Check out retailer list for your country.

