Syrniki are not pancakes ― they are a piece of history, a taste of tradition, and a favorite dessert of Eastern Europeans.
What Is Syrniki?
Golden cottage cheese circles have been a pleasure source for children and adults for centuries. But where did they come from? Let’s travel back in time and study the fascinating history of syrniki!
Syrniki: From the Moment of Their Appearance to Today
Syrniki has become widespread in Slavic countries, such as Ukraine, Russia, and Belarus. The dish’s name comes from the Slavic word tvorog, which means cheese. It’s no surprise since the main ingredient in syrniki is farm cheese.
Dairy farming was an integral part of life in the past. People made their cheese from fresh milk. If it was not eaten fresh, other dishes were prepared from it, including syrniki. They became the perfect way to turn simple ingredients into a delicious and nutritious dish.
Syrniki in Ancient Rus’ and Ukraine
At the dawn of history, cheesecakes were the main breakfast dish in the villages of Eastern Europe. They had several advantages, such as ease of preparation, satiety, and high protein content. Families made them from homemade cottage cheese, eggs, and flour. Sometimes, they added honey or dried fruit for extra flavor.
Syrniki were often fried in a traditional oven, which kept the dish warm for a long time. Later, the dish became popular in cities. By the 18th and 19th centuries, syrniki were served in homes, taverns, and local markets.
How syrniki spread across Eastern Europe
As trade and travel developed, so did the love of syrniki in different regions. The dish spread to Poland, Lithuania, and other Slavic countries. Each of them gave syrniki a unique twist. Some versions were sweeter or thicker, and others were served with different fillings, such as sour cream, jam, or honey.
In the 19th century, syrniki became especially popular with aristocrats. They introduced them to fine dining, often serving luxurious ingredients such as whipped cream, fresh berries, and powdered sugar. Despite this, syrniki remained a simple, everyday meal for most people.
USSR: A new turn in the history of syrniki
During the Soviet era (20th century), many traditional dishes were preserved and became part of everyday Soviet cuisine. Syrniki were no exception. They were served in canteens, schools, and cafeterias. Soviet cookbooks included simple recipes, guaranteeing the dish’s popularity in every home.
However, during this time, syrniki became more standardized. The elementary recipe included fewer ingredients and precise measurements. Despite this, families still preserved their traditions, passing on unique cheesecake recipes from generation to generation.
Syrniki Today
Syrniki are more popular than ever. It’s still a favorite breakfast dish in Eastern Europe and far beyond. This dessert is a staple in trendy cafes, fine restaurants, and healthy kitchens.
People love to experiment with syrniki. Some modern versions include whole-grain flour, coconut sugar, or vegan ingredients. Others are baked instead of fried, making them a lighter alternative. But no matter how they’re prepared, syrniki remain a timeless comfort food that everyone can relate to.
Interesting Facts About Syrniki
Syrniki are over 500 years old! They have been eaten for many centuries and still win the hearts of children and adults. Syrniki is the perfect food for children. They are sweet, easy to chew, and rich in protein and calcium.
Syrniki are often served for breakfast. But many people like to eat them for dessert or as a snack at any time of the day. In some regions, syrniki are considered a symbol of hospitality. In the past, guests were often greeted with a plate of a warm dish.
Syrniki were considered dishes for religious holidays. In some Orthodox Christian traditions, they were prepared for the festive table. Syrniki can be prepared without sugar and served with savory fillings, such as herbs or smoked salmon.
Each family has its secret recipe for syrniki. Some add baking soda for fluffier circles, while others use rice flour instead of wheat.
What’s in Syrniki? Basic Ingredients

Cooking syrniki is easy! It requires just a few ingredients. For example, here’s your shopping list for a classic recipe:
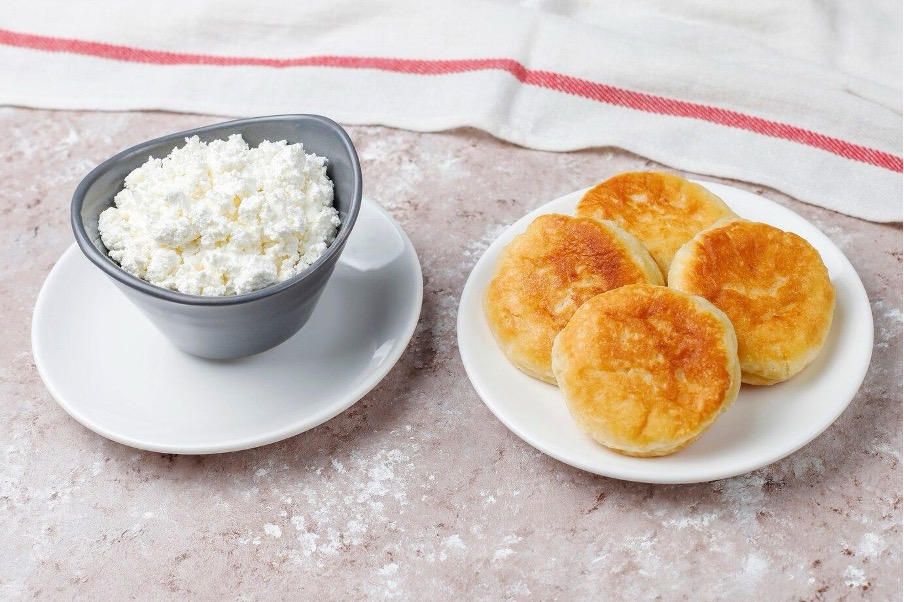
- Cottage cheese (farmer’s cheese) is the star of the dish! It should be dry and crumbly, not too wet. If you use store-bought cottage cheese, drain the excess liquid.
- Eggs. They help bind the ingredients and give syrniki a soft texture.
- Flour. Add just a little bit to give syrniki shape. Some recipes use semolina or cornstarch instead.
- Sugar. A source of sweetness, although some prefer not to add it. You can skip the sugar by serving syrniki with jam or honey.
- Salt. A tiny pinch balances the flavors perfectly.
- Sunflower oil or butter for frying. It gives syrniki a signature crispy crust.
Additional toppings: Want to get creative? Add vanilla extract, cinnamon, lemon zest, raisins, or chocolate chips. The result will pleasantly surprise you!
Syrniki Around the World
Syrniki is a Slavic dish. However, they have relatives in many other cultures!
Italy: Ricotta pancakes are made with soft ricotta cheese. They are very similar to syrniki.
Germany: Quarkkeulchen is a small pancake with cottage cheese, eggs, and flour.
USA: American cheese pancakes have a similar concept and texture, although they’re not identical.
It’s amazing how many cultures have their version of cheese pancakes! Let’s figure out how to cook classic syrniki.
Classic Syrniki Recipe
The easy syrniki recipe includes only a few ingredients. The key to a perfect result is using the right farmer’s cheese, also called quark or tvorog. It gives the dish a unique, creamy texture.
Ingredients
- 1 cup (200 g) farmer’s cheese (dry and crumbly);
- 1 egg;
- 2 tbsp sugar;
- 3 tbsp flour (plus extra for dusting);
- 1/2 tsp vanilla extract (optional);
- 1/2 tsp baking powder (optional, for a fluffier texture);
- A pinch of salt;
- Sunflower oil or butter for frying.
Cooking method
Prepare the cottage cheese. If it is too wet, squeeze out excess liquid using a cheesecloth. This simple life hack will help the cottage cheese keep its shape.
Add cottage cheese, egg, sugar, flour, vanilla extract, baking powder, and salt to a bowl. Mix well to form a soft, homogeneous dough.
Make circles. Flour your hands and form into small round patties (about 2-3 inches in diameter and ½ inch thick).
Rod the circles in flour. It’ll ensure a crispy crust when cooked.
Fry the syrniki. Heat a frying pan with oil or butter over medium heat. Fry the syrniki for about 3–4 minutes on each side until golden brown.
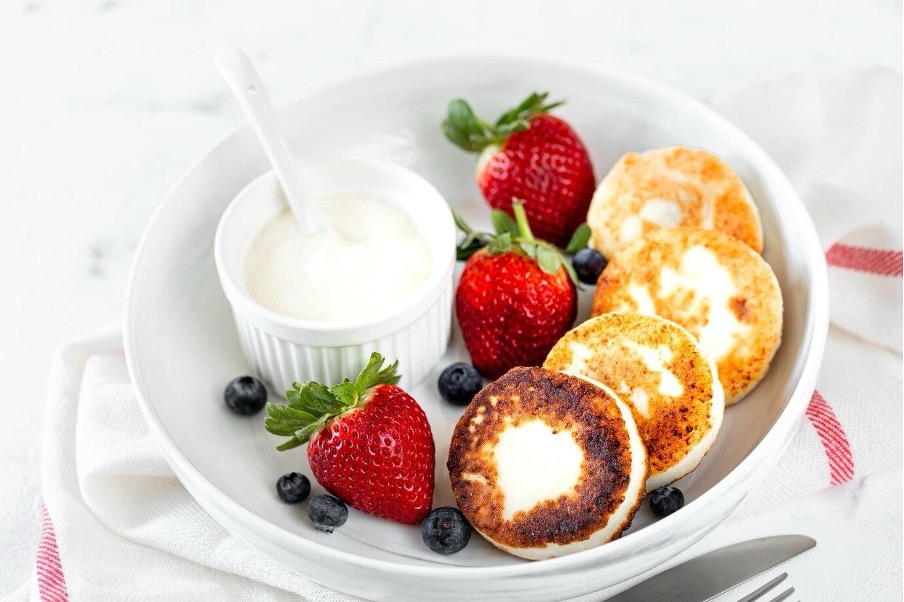
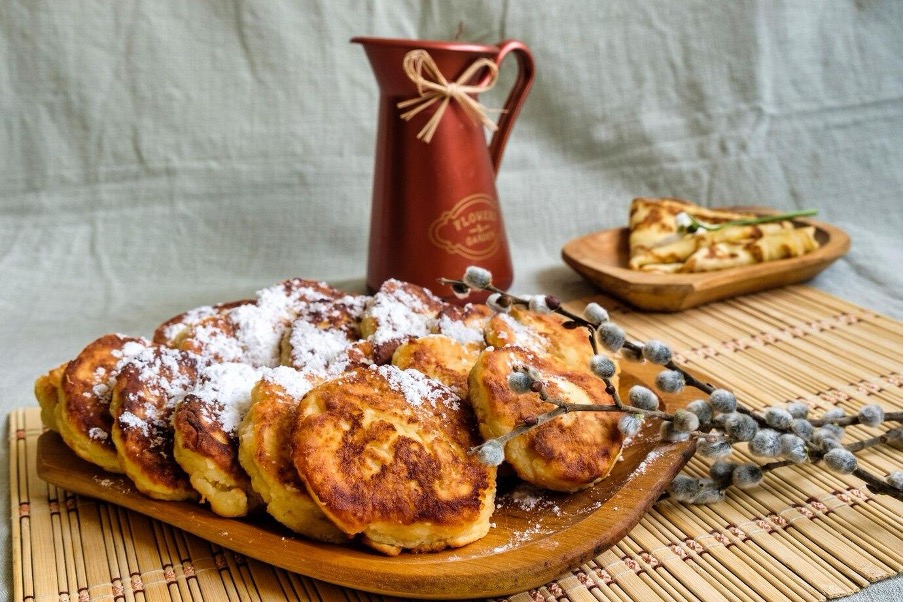
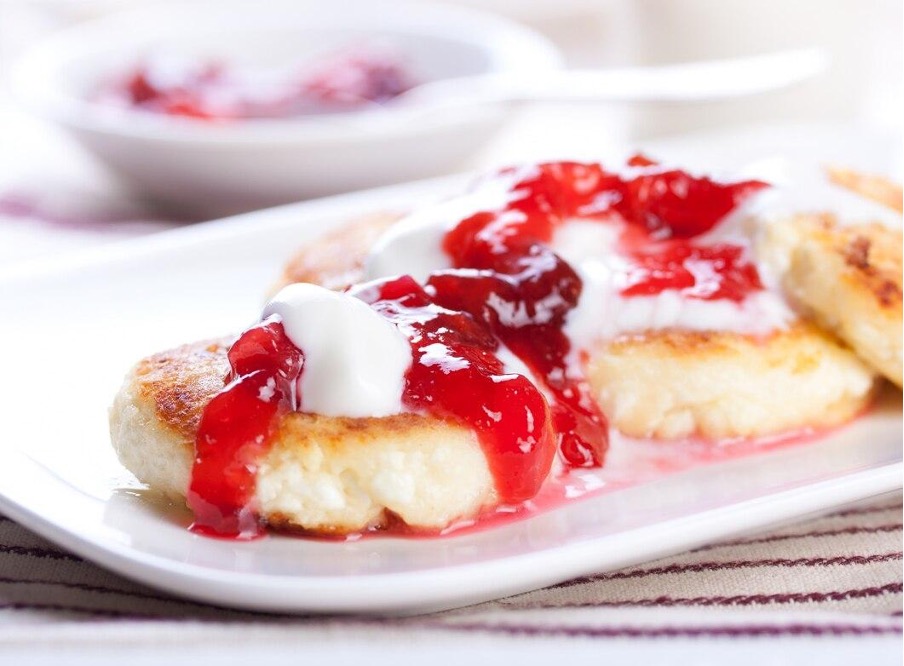
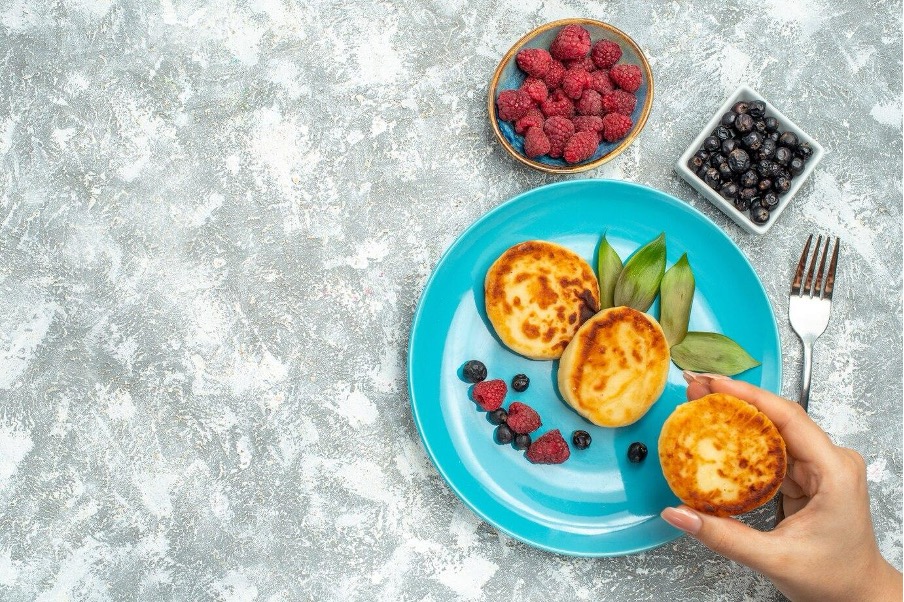
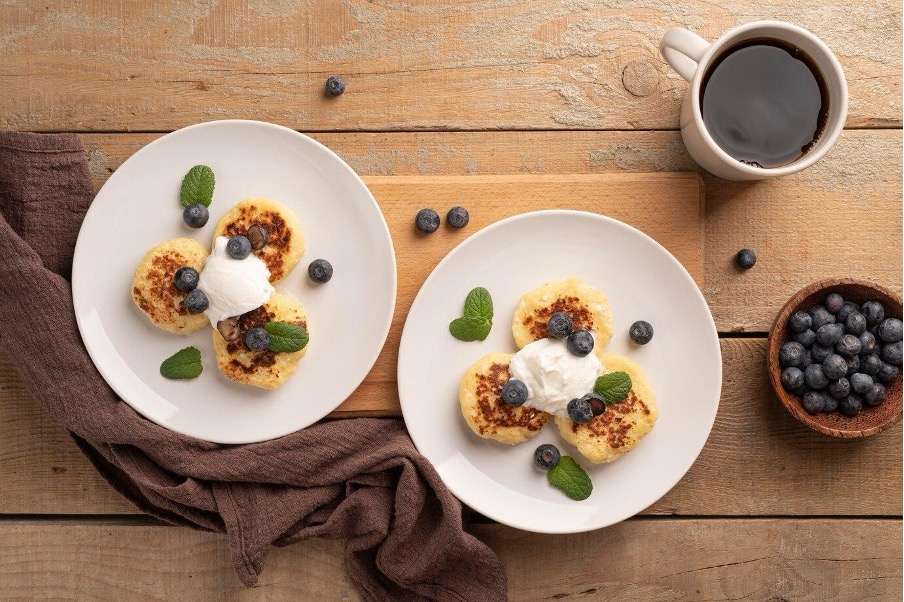
Serve the dish. Enjoy warm syrniki with sour cream, jam, honey, or fresh fruit!
Original Syrniki Recipes
While the classic version is delicious, why not get creative? Here are some fun recipes that will surprise you with new flavors and textures!
1. Syrniki with caramelized apples
Apples and cinnamon give cheesecakes a warm, cozy note. This version is perfect for fall or any time you want something warm.
Ingredients
- 1 cup (200 g) farmer’s cottage cheese;
- 1 egg;
- 2 tbsp sugar;
- 3 tbsp flour;
- ½ tsp vanilla extract;
- Pinch of salt;
- 1 apple, peeled and finely chopped;
- ½ tsp cinnamon;
- 1 tbsp oil (for frying apples);
- Butter or oil for frying.
Cooking technology
Prepare the apples. Melt 1 tbsp butter in a small saucepan and add the diced apple, cinnamon, and 1 tsp sugar. Cook for 5 minutes, until soft and caramelized. Let cool.
Prepare the dough. In a bowl, mix together the cheese, egg, sugar, flour, vanilla extract, and salt. Add the caramelized apples.
Shape and fry. Form small cutlets, lightly dredge in flour, and fry over medium heat until golden brown on both sides.
Serve warm with honey or maple syrup.
Tip: Try using pears instead of apples for a different taste!
2. Chocolate syrniki
If you love chocolate, this recipe is for you! Syrniki has an unexpected gooey chocolate center that will not leave you indifferent.
Ingredients
- 1 cup (200 g) farmer’s cottage cheese;
- 1 egg;
- 2 tbsp sugar;
- 3 tbsp flour;
- ½ tsp vanilla extract;
- A pinch of salt;
- 2 tbsp cocoa powder;
- 6 small pieces of dark chocolate;
- Butter or butter for frying.
Cooking technology
Prepare the dough. Mix the cheese, egg, sugar, flour, cocoa powder, vanilla extract, and salt.
Make the syrniki. Take a spoonful of dough, put a small piece of chocolate in the center, and seal the edges.
Roll in flour and fry on medium heat for 3–4 minutes on each side.
Serve warm so the chocolate inside is nice and gooey!
Tip: Drizzle melted chocolate or serve with vanilla ice cream for a fantastic experience.
3. Coconut syrniki with pineapple
A find for lovers of tropical flavors! Coconut and pineapple make these syrniki 100% exotic.
Ingredients
- 1 cup (200 g) farmer’s cottage cheese;
- 1 egg;
- 2 tbsp sugar;
- 3 tbsp coconut flour;
- ½ tsp vanilla extract;
- A pinch of salt;
- ½ cup diced pineapple (fresh or canned, drained);
- ¼ cup grated coconut;
- Oil or butter for frying.
Cooking technology
Prepare the dough. Mix the cheese, egg, sugar, coconut flour, vanilla extract, and salt. Add diced pineapple and grated coconut.
Form syrniki, roll them in flour, and fry as always.
Serve with Greek yogurt and honey for a fresh tropical taste.
Tip: Try mango instead of pineapple for another fruity twist!
4. Matcha white chocolate syrniki
Green tea fans will love this version! The matcha adds a slightly funky flavor, while the white chocolate provides a sweet contrast.
Ingredients
- 1 cup (200 g) farmer’s cheese;
- 1 egg;
- 2 tbsp sugar;
- 3 tbsp flour;
- ½ tsp vanilla extract;
- A pinch of salt;
- 1 tsp matcha powder;
- 6 small white chocolate chips;
- Butter or oil for frying.
Cooking technology
Prepare the dough. Mix the cheese, egg, sugar, flour, vanilla, salt, and matcha powder.
Make the syrniki. Place a white chocolate piece in the center and seal the edges.
Roll syrniki in flour and fry until golden brown.
Serve with whipped cream or sugared condensed milk.
Tip: Matcha is rich in antioxidants and gives an energy boost!
5. Nut cheesecakes with almonds and honey
Crunchy nuts give this dish an irresistible texture and taste. Snickers fans should try it!
Ingredients
- 1 cup (200 g) farmer’s cottage cheese;
- 1 egg;
- 2 tbsp sugar;
- 3 tbsp flour;
- ½ tsp vanilla extract;
- A pinch of salt;
- ¼ cup chopped almonds or walnuts;
- Butter or oil for frying.
Cooking technology
Prepare the dough. Mix the cheese, egg, sugar, flour, vanilla, and salt. Add chopped nuts.
Make the syrniki, roll them in flour, and fry.
Serve with honey for a sweet, nutty finish.
Tip: Add some sea salt on top to enhance the flavor!
How to Store Syrniki
Proper storage is key to keeping dessert soft and delicious if you plan to eat syrniki within a couple of days.
Storage Method
Allow the syrniki to cool completely. If you put the dish in the refrigerator while it is warm, condensation may form, making it damp.
Arrange syrniki in a single layer in an airtight container. If you stack the dish, place parchment paper between the layers to prevent sticking. Refrigerate for up to 3 days.
Tip: Warm the cooled syrniki in a frying pan with oil for a fresh-from-the-pan taste!
How to Freeze Syrniki
Freezing syrniki is a fantastic way to have a ready-to-eat treat whenever you want. Follow these steps to keep them fresh and prevent frostburn.
Freezing Cooked Syrniki
If you’ve already made a large batch and want to save some for later, freezing them is easy.
- Cool the dish. Never freeze warm syrniki, as a dish can become mushy when defrosted.
- Place them on a baking sheet in one layer. Make sure the cheesecakes don’t touch.
- Use the flash freeze. Place the pan in the freezer for 1–2 hours until the syrniki are firm.
- Place the dish in a freezer bag or container. Write the date on it so you know when it was frozen.
- Store the syrniki for up to 3 months. During this period, the dish retains its texture and taste.
Tip: Remove as much air as possible from the freezer bag to prevent ice crystals from forming.
Freezing Uncooked Syrniki
Want to make syrniki and cook them later? Freezing raw dough works, too!
- Make syrniki as usual, but don’t roll them in flour yet.
- Place them on a baking tray and freeze for 1–2 hours.
- Once set, transfer them to a freezer bag.
- Sign the package and use it within 2 months for best quality.
How to cook frozen syrniki: No defrosting is required! Just roll them in flour and cook straight from frozen. Add a few extra minutes to the cooking time.
How to Reheat Syrniki
Proper reheating ensures that Ukrainian cheese pancakes remain crispy on the outside and soft on the inside. There are several ways to achieve the desired result.
1. Heating in a pan is the best solution for a crispy texture. This method brings back the syrniki’s fresh golden color.
- Heat a non-stick skillet over medium heat.
- Add a little butter or vegetable oil.
- Place the syrniki in the pan and reheat for 2-3 minutes on each side until heated through and crispy.
Tip: Cover the pan for the last minute to thoroughly heat the inside.
2. Reheating in the oven is convenient for large quantities of syrniki.
- Preheat the oven to 180°C (350°F).
- Place the syrniki on a baking sheet lined with parchment paper.
- Cover the dish with foil to prevent drying out.
- Bake for 10 minutes, turning halfway through.
Tip: Remove the foil for 2 minutes to get a slightly crispy top.
3. Microwave heating is the fastest way. It’s great if you’re in a hurry, but you’ll have to say goodbye to the crispy crust.
- Place the syrniki on a microwave-safe plate.
- Cover with a damp paper towel to retain moisture.
- Reheat in 15-second intervals, checking until heated through.
Tip: Toss microwaved pancakes with a fresh drizzle of honey or yogurt to enhance the texture!
4. Reheating frozen syrniki. If you’ve frozen the dish, this won’t be a problem!
Reheat the syrniki in a frying pan for 4-5 minutes or bake in the oven at 160 °C (320 °F) for 15 minutes. You can also try heating frozen food in the microwave. To do this, use low power for 1–2 minutes and check the syrniki often.
Common Mistakes to Avoid
While storing and reheating syrniki is easy, a few common mistakes can ruin their texture. Here are four “no’s” to remember when experimenting with the kitchen.
Storing warm syrniki. Always let them cool first to avoid getting soggy.
Skipping the flash freezing step. Syrniki will stick together if you immediately put a defrosted dish in a bag.
Heating in the microwave for too long. It can cause them to feel rubbery instead of soft and fluffy.
Reheating on high heat. The syrniki can burn on the outside before they are warmed through.
Final Thoughts: Why You Should Cook Syrniki
Syrniki are a great way to bring warmth and coziness to your kitchen. They are delicious, easy to make, and allow for endless experimentation!
Every housewife always has almost all the syrniki ingredients at hand. So, why not try cooking Eastern European cuisine today? Whether you choose the classic recipe or add your twist, syrniki will become a new favorite in your home. Enjoy!